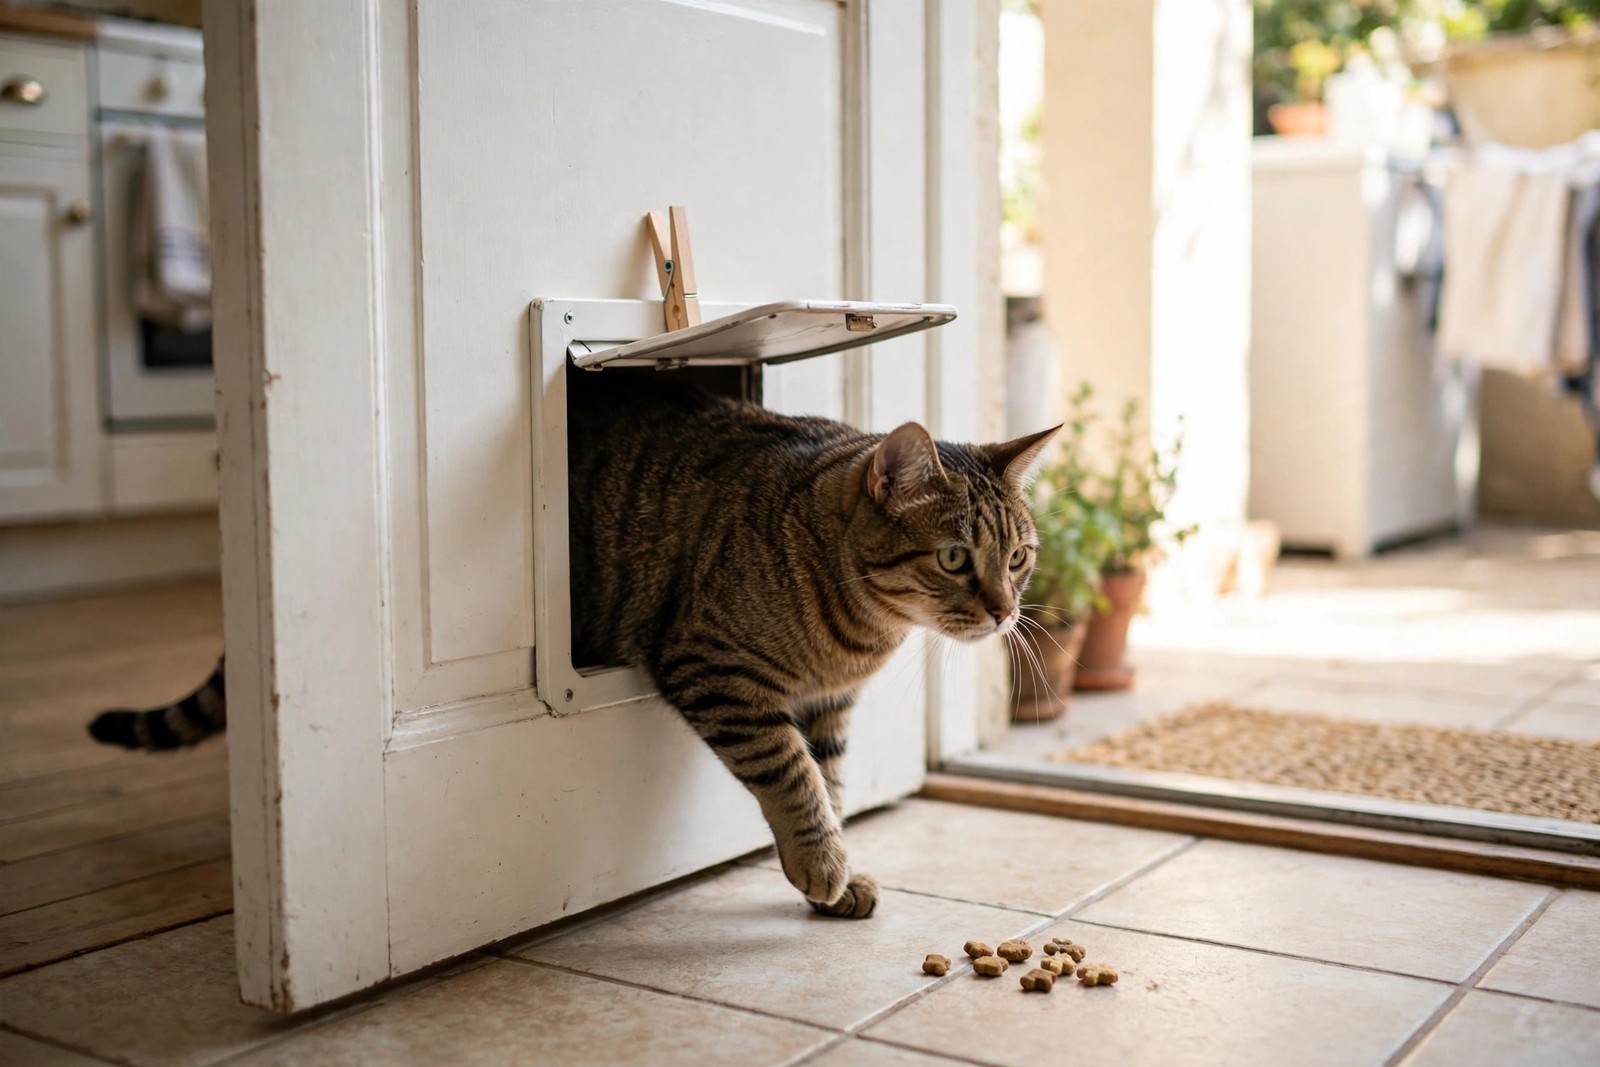
Most cats who 'refuse' the cat flap are not being stubborn; they are being asked to push their face into a solid, moving, sometimes noisy door before they understand it leads somewhere good. Break the skill into three stages — an open hole, a partly lowered flap, then a closed flap she pushes herself — and the same cat usually learns within a week.
Stage One: Make It Just a Hole
Fix the flap wide open with tape, a prop, or the hold-open setting if yours has one, so your cat can see straight through to the other side. Now make crossing worthwhile: play with a wand toy back and forth through the opening, and feed treats — or even her meals — on alternating sides so she crosses repeatedly in both directions. If she will not approach at all, start by rewarding her for simply being near the flap, then for putting her head near the opening. Stay at this stage until she trots through without hesitation, typically a day or two. Never lift her and post her through: a cat pushed through a flap learns the flap is something done to her, and avoids it harder.
Stage Two: Lower the Flap in Steps
Now lower the flap partway, held on a peg, clip or rolled towel so it hangs half open with a clear gap underneath. She must now duck slightly and may brush the flap against her back as she passes — a new sensation worth rewarding generously on the far side every time. After a day or so of easy crossings, lower it further so only a small gap remains and she has to nudge the bottom edge with her head as she ducks. If she stalls at any height, raise the flap back to the last easy stage for a few crossings rather than coaxing endlessly at the one she fears; going backwards briefly is how the training keeps moving forwards.
Stage Three: The Closed Flap and the Push
Let the flap hang fully closed but unlocked. Encourage her from the other side with your voice and a treat held where she can smell it, and wait — the first nose-push is the breakthrough, and it often comes after a thoughtful minute of pawing at the edges. Reward it hugely. Some cats push with a paw first and get briefly stuck half in, half out; stay calm, hold the flap gently so it does not bang her, and let her complete the crossing herself. Practise in both directions, because many cats master going out long before they will push in from the garden, and keep sessions to a few crossings, several times a day.
Troubleshooting and Safety
If progress stalls completely, check the flap itself: stiff hinges, a heavy flap, a high step up on one side, or a draught slamming it will defeat training that treats cannot. Magnetic and microchip flaps add a click as they unlock, which some cats need extra stage-two time to accept. Keep the flap the only route in and out during training if you can, since a permanently open window teaches her to wait for the window. Once she is fluent, keep a note of which stage each helper should practise in KinsLe's Care Teams, so a well-meaning family member does not lock the flap early or skip your cat back to stage one.