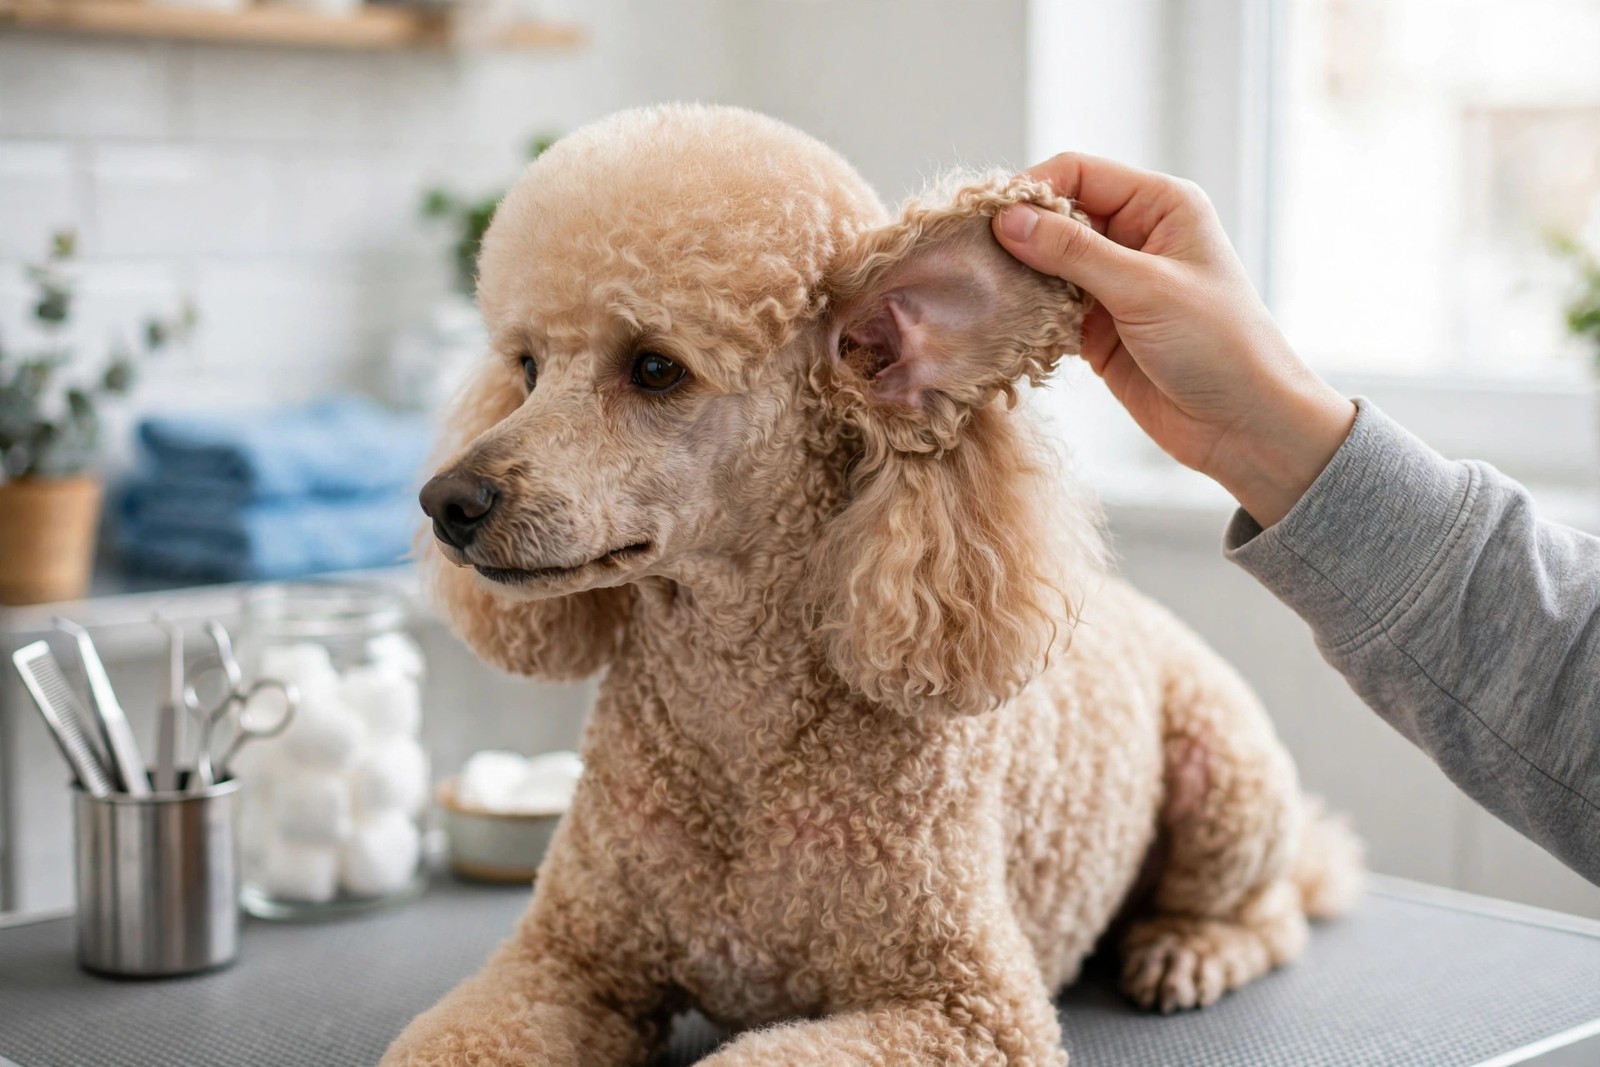
Hair inside the ear canal used to be removed as a matter of routine in many hairy-eared breeds, on the assumption that less hair automatically meant a healthier ear. The modern position is more cautious. Healthy ear hair is left alone in many dogs, and plucking is treated as a decision for a particular ear, not a default part of every groom.
Leave a healthy ear alone
If the ears look clean, feel comfortable and have no history of repeated trouble, routine plucking may offer no benefit and can leave the canal irritated. Hair in the canal is normal anatomy for these breeds. Its presence alone is not a problem to correct, and repeatedly disturbing a settled ear can create the soreness an owner was trying to prevent.
Look at the ears during ordinary grooming instead. A calm look at the visible folds, a sniff for a change in odour and attention to whether the dog is scratching, shaking its head or resisting touch will tell you more than a calendar instruction to pluck. A dog that has always had comfortable ears should not be put on an ear-hair removal routine simply because its breed grows hair there.
Pluck only on veterinary advice for that dog
The position changes where a vet advises hair removal for a dog with ear trouble. In that case, follow the vet's guidance for that ear: what should be removed, how much, and whether it should be done at the practice or by a groomer who understands the instruction. Do not transfer that instruction to the other ear if it is healthy, to another dog in the household, or to every future groom as a permanent rule.
If plucking is advised, the ear should be calm at the time. Work gently, remove only the loose hair the vet's guidance covers, and stop if the dog is in pain or the ear becomes inflamed. A groomer should be told that this is a vet-directed exception, not an instruction to strip the canal bare. More removal is not automatically better, and a sore canal after plucking should be reported back to the vet rather than treated as normal soreness to push through next time.
Clean in a way that lets the dog do part of the work
When cleaning is appropriate for a healthy ear that needs it, use a dog ear cleaner as directed. Lift the ear flap, fill the canal gently, and massage the base of the ear so the cleaner reaches the material lower down. Then let the dog shake. The shake brings loosened material upward, and you wipe only what is visible at the opening and on the flap with cotton or gauze.
Do not push cotton buds or instruments deep into the canal to chase material you cannot see. That risks pushing debris further in and injuring a canal you cannot inspect properly. Use a drying cleaner only if the vet recommends one for your dog, rather than choosing a stronger product because the ears are hairy or because the dog swims. If the vet has given a different cleaning plan for a dog under their care, that plan takes precedence over general grooming advice.
The stop rule: red, painful or smelly means vet
Never clean or pluck a red, painful or smelly ear. Those signs move the ear out of home grooming and to the vet. Cleaning first can mask what the vet needs to see, plucking a sore ear will hurt, and delay can let an underlying problem worsen while the surface is being tidied.
The same stop rule applies if the dog yelps when the ear is touched, holds its head to one side, has discharge you have not seen before or becomes distressed by an approach that is normally tolerated. Book the vet, keep hands and products out of that ear, and let the examination come first.
Care Teams, available through KinsLe, lets owners share a reminder to look at the ears without turning routine plucking into a default habit.