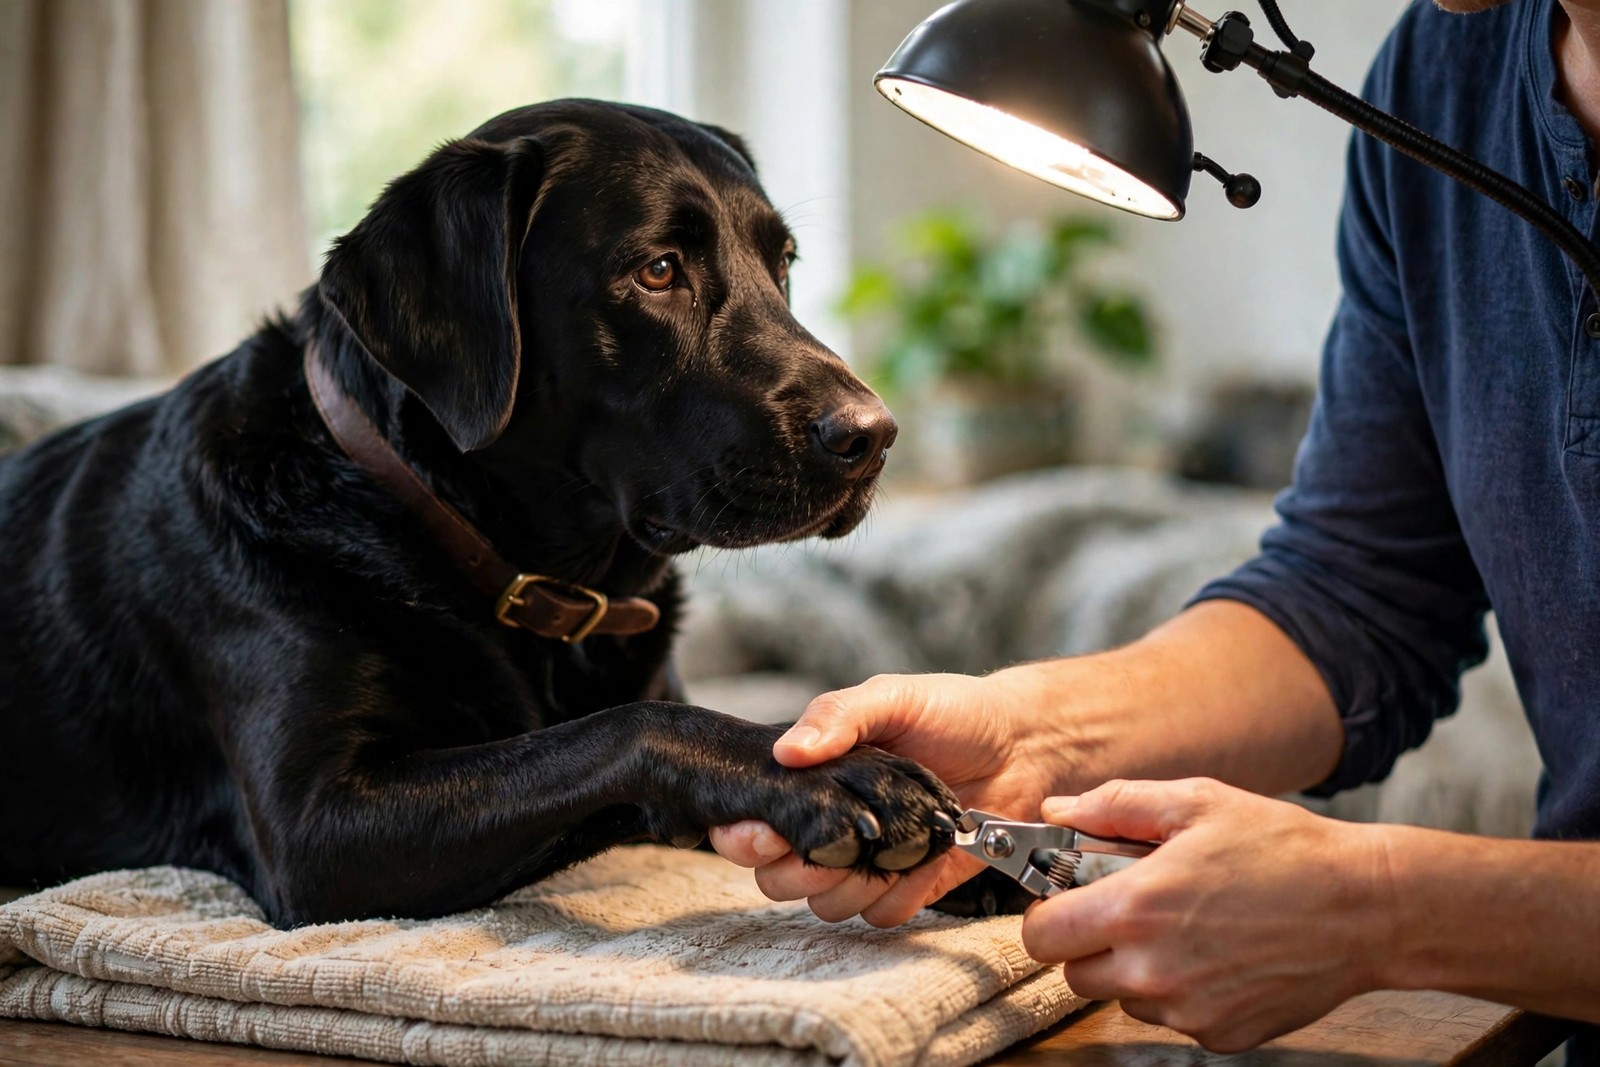
Light nails spoil their owners: the pink quick shows through the wall and the endpoint is obvious. Dark nails hide it completely, so the skill changes from looking through the nail to reading the face you create as you cut. That face tells the truth reliably once you know its stages, which makes dark nails a patience task rather than a guessing game.
Set Up Before the First Cut
Work in the strongest light you have, ideally a lamp angled across the paw rather than a ceiling light behind your own shadow. Use sharp clippers sized for your dog; blunt blades crush the nail instead of slicing it, and a crushed face is hard to read. Squeeze the toe gently so the nail extends, and hold the paw firmly enough that a flinch does not turn a slice into a chunk. Have styptic powder open, not stored in a drawer, plus a few treats and a damp cloth for wiping the cut face clean between slices, since dust on the surface hides exactly the colour change you are watching for.
Slice Thin and Read the Face
Take the tip off in thin slices, each one barely thicker than a coin's edge, cutting straight across the point of the nail and following its natural curve so the nail keeps a sensible shape. After every slice, stop and look at the cut face head-on. At the tip, the whole face looks dry, pale, and slightly flaky, like chalk. As you move back, a paler oval appears in the centre, smoother than the rim around it. Closer still, that centre turns soft-looking and slightly darker, a greyish or pinkish dot inside the oval. That darker centre is the stop signal: the quick, the living core with its blood supply and nerve, sits immediately behind it, and the very next slice is the one that would draw blood.
Judge each nail separately. Nails on the same paw differ, dew claws grow at their own rate and curve more sharply. When a face reaches the stop signal on one nail, leave that nail alone even if its neighbour still looks long from the side; length is judged from the face, not from appearance.
Weekly Small Cuts Recede the Quick
The quick is not fixed. When nails are left long, the quick grows long with them; when tips are trimmed a little every week, the quick gradually recedes toward the base over the following weeks, letting you keep the nail shorter overall without ever cutting into living tissue. That is why one heroic monthly session fails on dark nails while a modest weekly rhythm succeeds: small, frequent cuts move the boundary itself. Pick a fixed day, work through all four paws in the same order, and note which nails reached their stop signal quickly and which needed almost nothing, so next week's session starts from knowledge rather than hunches.
If you do nick the quick, stay boring about it. Press styptic powder firmly against the tip, hold gentle pressure, give the dog a treat and a break, and end the session there if your dog has had enough. A small bleed from a nail tip looks dramatic and usually stops with powder and pressure; a dog who will not settle, or a nail that keeps bleeding, is a reason to ring your vet practice for advice.
Finish, Check, and Record
Run a finger under each finished nail: it should clear the floor when the dog stands, without the nail clicking on hard surfaces during a short indoor walk. File or smooth any sharp leftover edge on a dog who scratches at doors or people, and check the pads and between the toes while the paw is already in your hand, since grit and small mats hide there. Care Teams through KinsLe helps the next helper too, showing which nails were done last time before anyone picks up the clippers again.